07 Nov

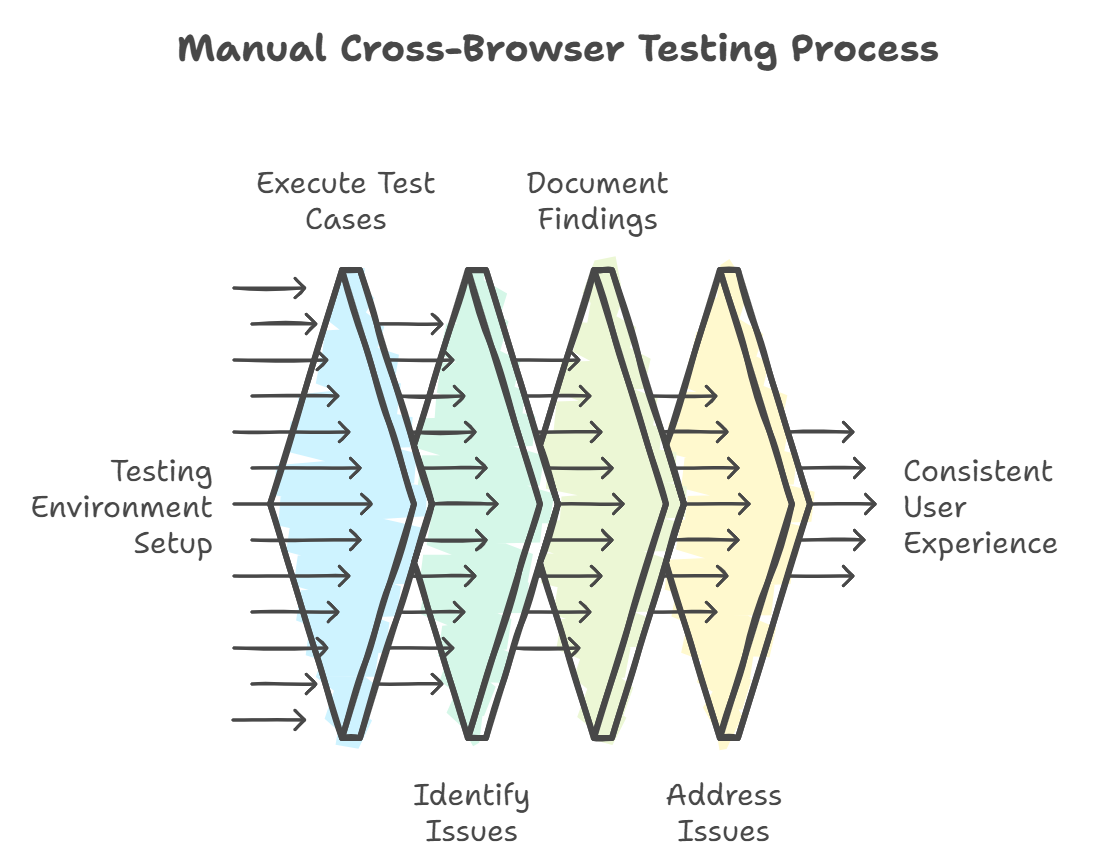
Ensuring your website or application functions flawlessly across several browsers is essential in today’s digital environment. The practice of confirming that your web content works correctly across various web browsers and provides a consistent user experience is known as cross-browser testing. Even though automated testing methods can greatly expedite this process, manual testing is still necessary to identify subtleties that automation could overlook. This is a thorough explanation of how to successfully conduct manual cross-browser testing.
Teams can manually run test scripts on other clients or perform cross-browser testing, noting changes in functionality on other web clients. Although small websites and applications are the ideal candidates for this kind of browser testing, the amount of human involvement needed to test every feature, as precise as almost 100%, is still prohibitive.
Installing multiple browsers and operating systems on different computers and mobile devices is necessary to manually test a website. The identical test cases must then be carried out by hand in each selected setting. For testers, this is time-consuming and draining, and the entire testing period is, therefore, very long. Moreover, it is not feasible to conduct manual testing in a range of scenarios. To swiftly finish testing tasks, cross-browser testing automation is therefore necessary.

- Understand Your Target Browsers:
- Decide the browsers and versions you wish to target before you start testing. This could consist of:
- Chrome, Firefox, Safari, Edge, and Internet Explorer are popular browsers.
- Mobile browsers: iOS Safari, Android Chrome, etc.
- Previous Versions: If your audience may still be using previous versions, it may be vital to test the
- Set Up Your Testing Environment:
- Equipment and Configuration:
- Devices: Verify that you have access to a range of gadgets, including smartphones, tablets, and PCs.
- Install the target browsers and the versions that correspond to them.
- Network situations: To understand performance under varied situations, test under varying network speeds.
- BrowserStack and Sauce Labs are helpful resources for virtual testing environments.
- Tools for local testing in server setups, such as MAMP or XAMPP.
3. Create a Testing Checklist:
- Using a checklist guarantees that you address every important facet of your website. This is a basic overview
- Important Things to Test: Layout and Design: Verify space, alignment, and general appearance.
- Functionality: Verify that buttons, forms, and navigation function as intended.
- Performance: Keep an eye on responsiveness and load times.
- Compatibility: Check that media components (pictures, movies) work as intended.
- JavaScript Execution: Examine whether there are any problems with scripts operating in various browsers.
- Accessibility elements, such as screen readers, should be taken into account.
- Responsive design, which adapts to various screen sizes.
- Security features (login procedures, SSL certificates).
- Execute Your Tests:
- Launch the Target Browser: Begin by opening each browser individually.
- Open your application or website: After entering the URL, watch for it to load completely.
- Navigate the Site: Check all features, design components, and performance indicators using your checklist.
- Record Findings: Note any problems, along with how to replicate them.
- Methods of Testing:
- Visual Testing: Compare how items look in various browsers by taking screenshots.
- Interaction Testing: Examine buttons and forms for mistakes or broken links.
- Log and Report Bugs:
- Documenting problems when you discover them is essential to their resolution. Incorporate
- An explanation of the problem: Give specifics about the issue.
- Note the browser and version that were affected by the problem.
- How to Reproduce: Give a precise way to replicate the problem.
- Screenshots: Developers can gain a better understanding of the issue by using visual evidence.
- Collaborate with Your Development Team:
- After compiling your results, closely collaborate with developers to resolve the issues you found. This cooperation can guarantee that patches are applied effectively and expedite the debugging process.
- Advice for Successful Teamwork:
- To keep track of issues, use project management software such as Jira or Trello.
- Arrange frequent meetings to talk about bugs and how to fix them.
- Retest After Fixes:
- Retest all targeted browsers after developers have fixed the issues to make sure they have been fixed and that no new ones have emerged.
- Document the Testing Process:
- Record your testing procedure, conclusions, and outcomes after your testing cycle. This will be a useful resource for new team members and help expedite testing efforts in the future.
Conclusion:
Although it can take a lot of time, manual cross-browser testing is an essential part of providing a top-notch user experience. You can make sure that your web application runs as efficiently as possible on a variety of devices and browsers by following these steps. You can find problems early and give every user a flawless experience with careful testing and teamwork. Have fun with your tests!


Preeti Singh