

The Apache Group created the well-liked open-source build tool Maven to build, publish, and deploy multiple projects simultaneously for improved project management. The lifecycle framework can be built and documented using the provided tool.
Maven is built in Java and is used to create projects in C#, Scala, Ruby, and other languages. This tool, which is based on the Project Object Model (POM), has made the life of Java developers simpler when producing reports, checking builds, and testing automated settings.
The objective of Maven:
The goal of Maven is to enable developers with:
- A project model that is comprehensive, maintainable, reusable, and easy.
- A collection of tools and plug-ins for interacting with the declarative model.
Feature Of Java:
Maven has plenty of essential and useful characteristics, which helps to explain why it is attractive. Here are some of Maven’s most notable features:
- A vast, constantly increasing archive of user libraries
- The ability to simply build up projects making use of best practices
- Management of dependencies with automated update
- Compatibility with prior versions.
- Reporting with high accuracy and honesty
- Uniform use across all projects
Install Maven on Windows:
First, we need to install JDK (Java development kit) on our PC, followed by Maven on Windows.
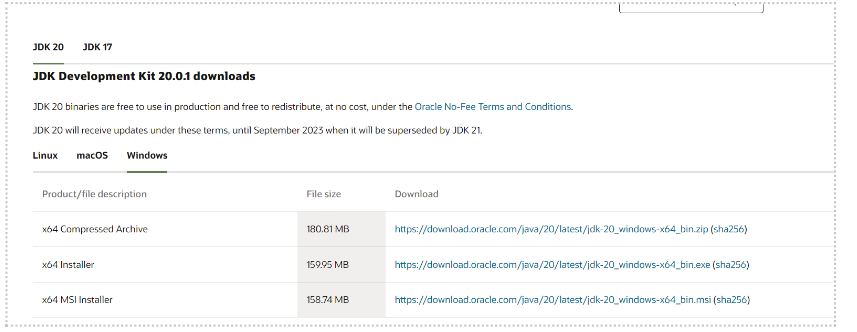
In Order to download Java. Land https://www.oracle.com/in/java/technologies/downloads/#jdk20-windows on that page, you may locate the JDK for many platforms and operating systems.
While Java is being installed, let’s get started on installing Maven on Windows:
- Navigate to Browser
- Enter Maven Download and navigate to https://maven.apache.org/download.cgi
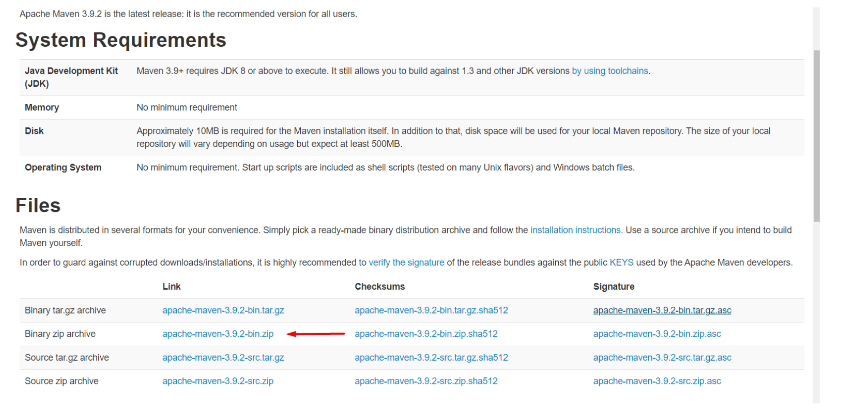
- Use the Apache zip archive link to download.
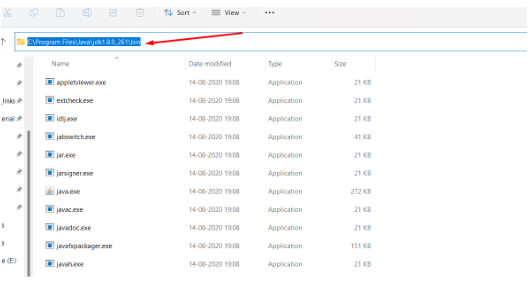
- After downloading both JDK and Apache Maven, we’ll navigate to the directory containing the Java executables.
- Install the whole JDK.
- Immediately after the installation of the JDK, we must navigate to the Maven directory and extract the files.
- After Downloading Java and Maven we need to set its path into system properties
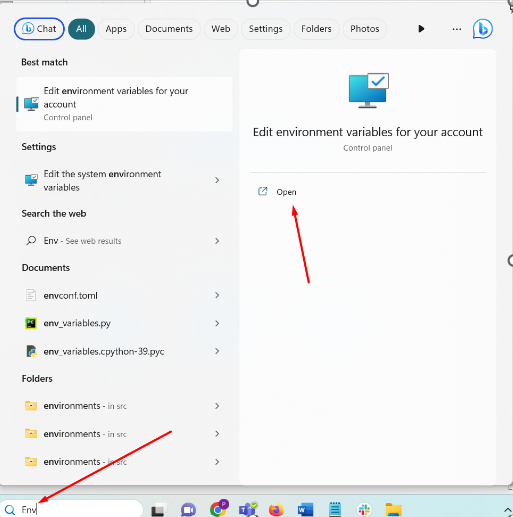
- In Order to set Path search for Environment Variable in your PC and open it.
- After then go to the Java bin path in your local directory and set Java Path

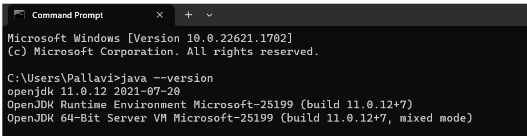
- Now Open CMD and type the command java –version.
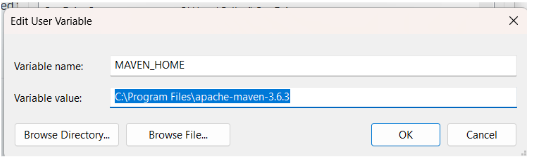
- After that Set New Environment Variable for Maven
- Open Environment Variable in the same way described above and under the system, variable enter Maven Home.
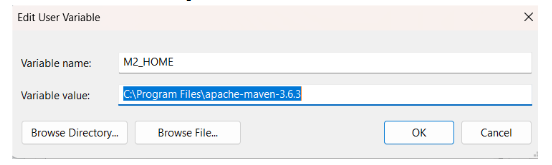
- Now set the M2 variable for Maven again.
- Then Edit the path and set Maven Bin Path
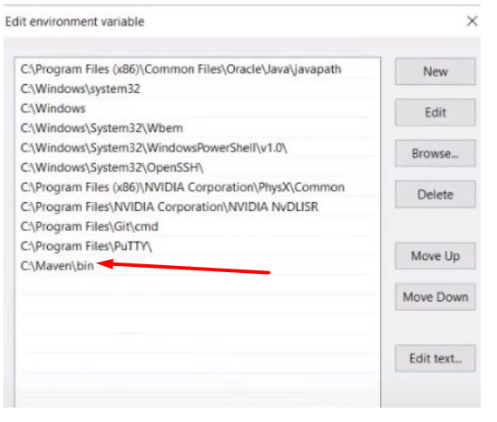
- Now click OK.
- Maven has been installed. Return to the command prompt window to confirm that Maven is installed.
- Open CMD and enter the MVN version

- We can see that JDK and Maven are both installed on our machine.
Install Maven On Ubuntu:
- Launch the terminal.
- To install packages, use the root id.
- After completing the preceding steps, execute the app update command.
- Install the most recent Java package next.
While Java is being installed, let’s get started on installing Maven:
- Navigate to Browser
- Enter Maven Download and navigate to https://maven.apache.org/download.cgi
- Navigate to the Binary tar.gz archive.
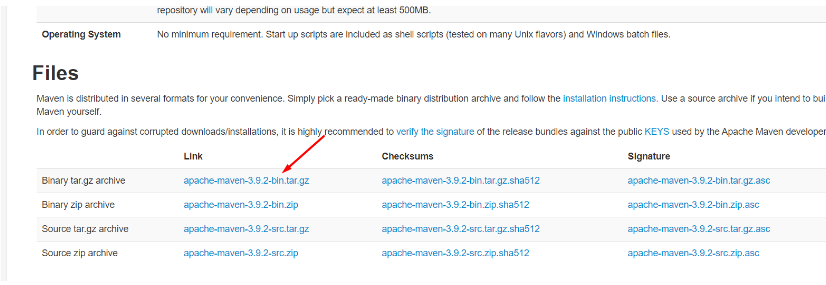
- Copy the Binary tar.gz archive link.
- Once the Java installation is complete, use a new terminal to install Maven.
- Navigate to the opt directory by entering the command i.e. “cd /opt”
- Then execute the wget command along with the link copied above i.e.” wget *link of tar.gz archive*”
- After downloading the Maven tar file, extract it.
- We can see the Apache Maven directory when the extraction is complete.
- Let’s go to the Maven directory now by entering the command i.e. “cd maven/”
- Return to terminal 1 and check the Java version by entering the command i.e. “java -version”
- Navigate back to terminal 2 and enter the command i.e. “cd/ etc/ profile.d/”
- All of the path variables are visible here.
- To add more options, use the echo command to copy the path variables by entering the command i.e.” echo *path copied* /opt/maven/bin >>maven.sh”
- Now, export MVN_HOME to this directory by entering the command i.e.” echo “export MVN HOME=/opt/maven” >>maven.sh”
- Finally, we’ll grant this file executable permissions by entering the command i.e.” source /etc/profile.d/maven.sh”
- Following this, we can execute the Maven version command i.e. “mvn -version”
Conclusion:
After completing these steps, you should have a working copy of Maven on your Windows machine as well as on Ubuntu.
