10 Oct

Whenever an application flow is tested from start to finish, it is known as end to end testing. It ensures that the application works the same as the user wants and that there is no bug present. End-to-end testing ensures that there is no break in any part of the application that current or new users cannot access.
Why Cypress?
Cypress is easy to use as compared to other tools like TestCafe, Selenium, and Puppeteer. Cypress is a widely used tool, which means that solution to the problems that occur in Cypress is available easily. The syntax used in Cypress is easy to learn and use. The other features of cypress are:
- Time travel.
- Debuggability.
- Automatic waits.
- Consistent results.
- Web & API testing.
- Screenshots & and videos.
- Cross-browser testing – locally or remotely.
Setting up or Installing the cypress.
The first step is the installation of JavaScript, as Cypress only supports JavaScript. To install, search node js on Google click on the first link, and download and install the latest version as per your OS.

After installing NodeJS, check whether the path in environment variables is present or not.

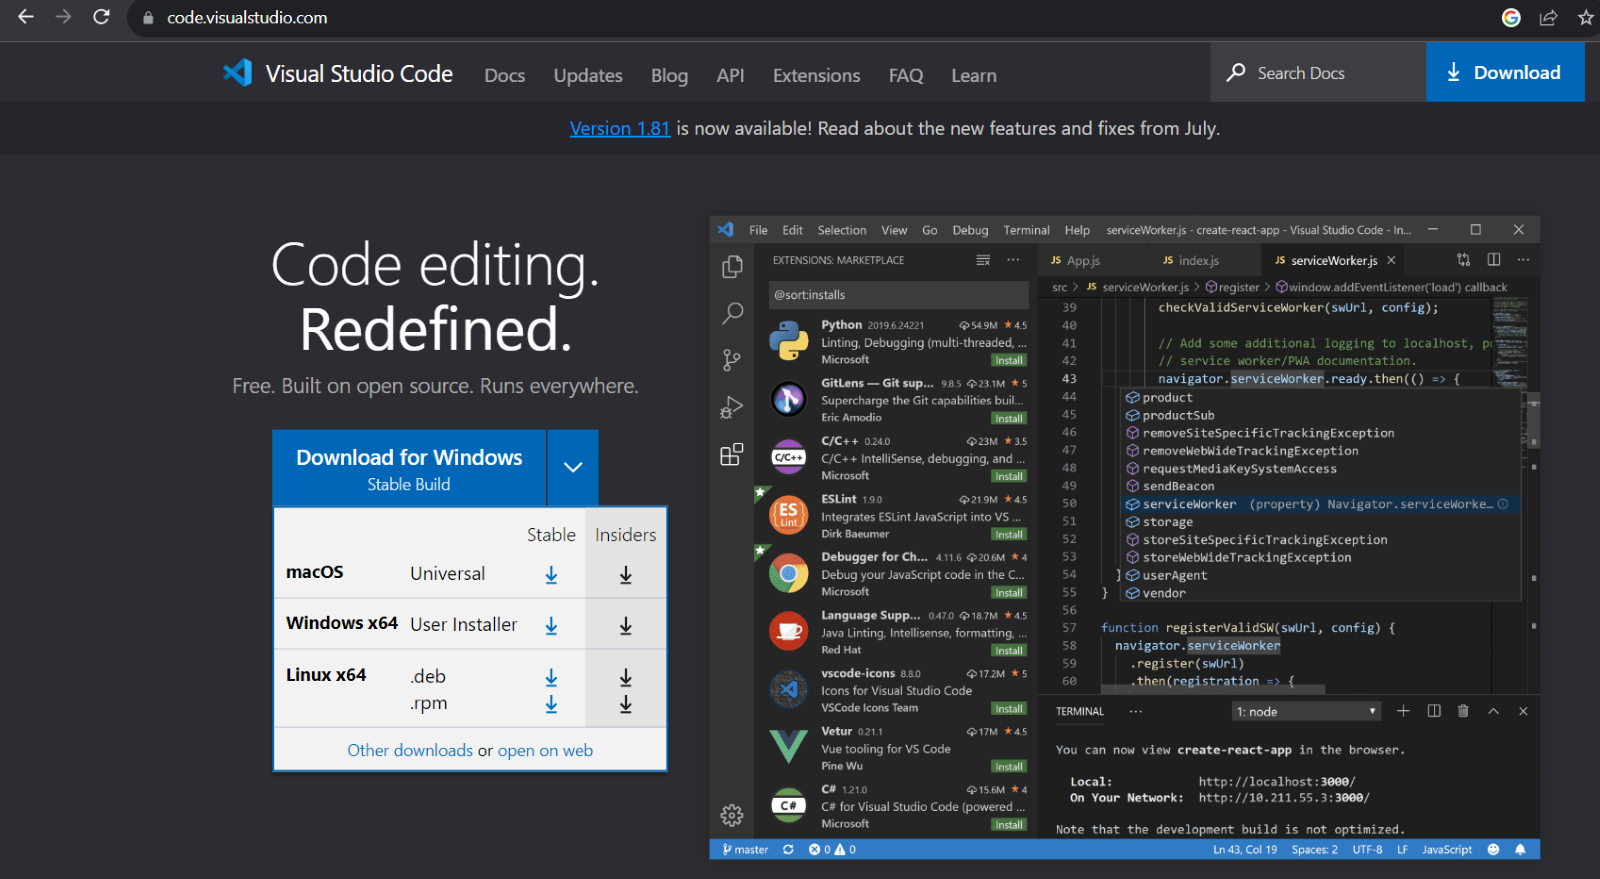
Now install Visual Studio code and install it. Choose OS according to your system.

Create a folder in your system and open that folder in Visual Studio Code by right-clicking

Open the terminal in VS code by clicking Terminal>New Terminal and run the command npm -I init to create a package.json file. As you can see after running the command, the terminal will look like image 1. Now just press enter until you get the image 2. Type YES and press enter. We are creating the package file to install any plugin in the future.

Now we have to install cypress on the same folder we have created by entering the command npm install cypress –save-dev. After running the command, the window will look like image 3.

Open the cypress by using the command npx cypress open in the same Terminal. The Cypress window will open. Choose End-to-End(E2E) testing, click on continue, and choose the browser in which you want to test.

After selecting the browser, click on Create New Spec give a name to the file, and click on Create Spec button.

Creating test cases
To create test cases, go to the VS code click on the test file you have created, and write the code.

In the above picture, three test cases have been written: –
First test: visiting the site ‘https://qacraft.com/

Second test: Verifying the title for a positive case. In this test case, the title of the website should be equal to India’s Best Software Testing Services Provider – QACraft.

Third test: Verifying the title for negative case. In this test case, the title should not be matched and the test case should fail and give an assertion error.

Now open the cypress and run the test file test.cy.js by clicking on it. As you can see in the below image, the first two test cases are passed but the third test case failed because of the wrong assertion we had provided.

Limitations of cypress:
- Can’t automate Windows-based / mobile apps.
- Limited support of browsers.
- Only support two languages JavaScript and TypeScript.
- Reading/writing data into files is difficult.
- For the best report format, we must use dashboard features that are paid. Any other third-party report feature can’t be used.
Conclusion
Cypress can be a great tool to test web-based applications. And who want to create test cases in an easy way and want consistent results. The debugging and analyzing of test cases through screenshots and videos is very easy. However, the limitations of cypress make it unsuitable for most of the projects.
Diksham works as a QA Automation EngineerQACraft. He is a mechanical engineer with a degree. He has 3+ years of experience in manual and automation testing. Currently, he is upgrading his skills in automation testing by taking on new challenges day by day. In his free time, he loves to travel.
Related Post
Leave a Comment Cancel reply
Categories
- Agile Testing
- Agile Testing
- Android App Testing
- Automation Testing
- Banking Domain Testing
- Beta Testing
- cloud testing
- Corporate Life
- cross browser testing
- Cypress Testing
- Cypress Testing
- desktop testing
- Domain Testing
- E-commerce Website Testing
- E-learning App Testing
- Functional Testing
- Game Testing
- Healthcare Domain Testing
- Infographics
- Ios App Testing
- Jenkins
- JIRA
- Katalon
- Manual Testing
- Mobile App Testing
- monkey testing
- Performance Testing
- Regression Testing
- Salesforce Testing
- security testing
- Selenium
- Selenium
- Software Testing
- static testing
- Test Environments
- vdfv
- Web Application Testing
© Copyright 2024 QACraft Pvt. Ltd. All rights reserved.
Contact : +91 9157786796


Diksham