

In this article, We will see the complete overview of the JIRA testing tool.
What is JIRA?
Australian company Atlassian developed the tool JIRA for tracking bugs, issues, and project management. The full form of JIRA is inherited from the Japanese word “Gojira” which means “Godzilla”. This tool makes issue tracking easy and also project management can be handled easily.
What is JIRA used for?
For the following purpose, JIRA can be used:
- In Agile methodology.
- Requirements and test case management.
- Project management.
- Product management.
- Task management.
- Issue/Bug management.
How to use JIRA Testing Tool?
Below are the steps provided to use JIRA
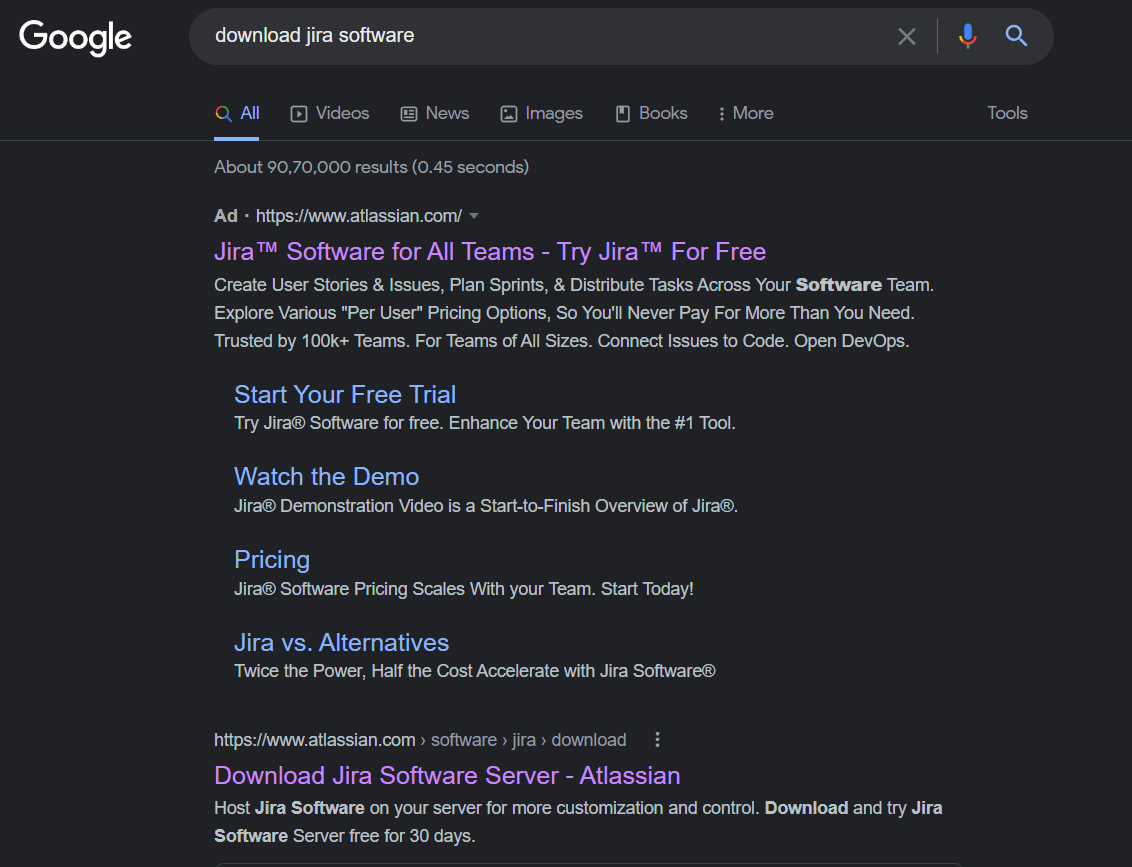
Step 1: Installation – In this step type Download, JIRA Software in google search, and click on search or press enter. After searching, click on the first link as shown below. Not the ad link but the link that does not contain the ad.
Step 2: After clicking on the link, you will land on the below page. Select the operating system as per your pc and hit the download button.

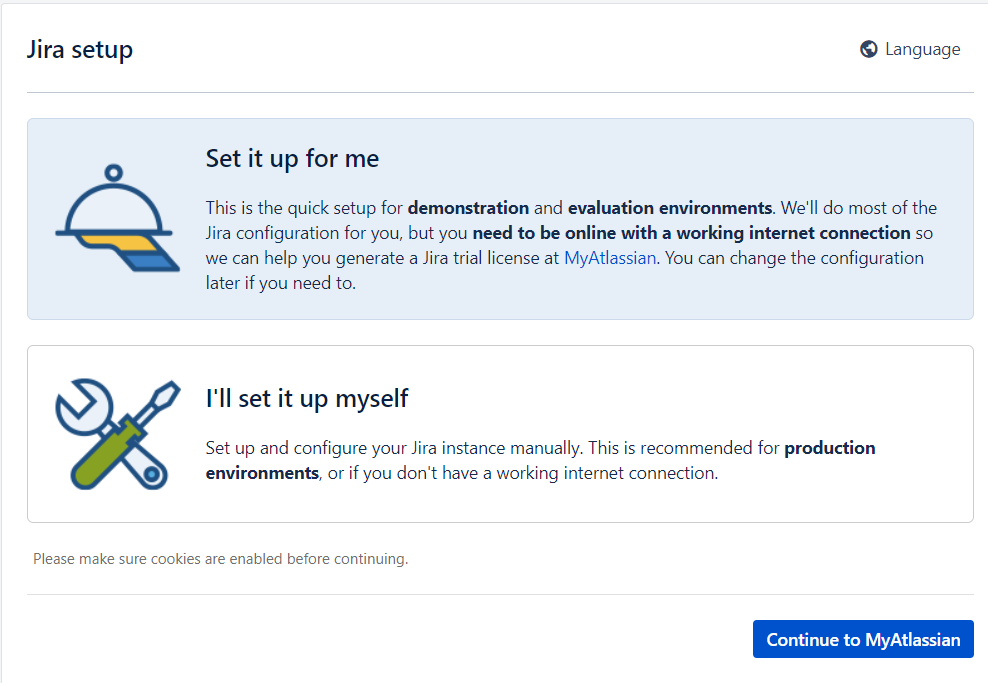
Step 3: After adding details download the software and install it as an administrator and open it. At first, it will show an error of the site not loading, just wait for 1 or 2 min, and it will load automatically. Now click on set it up for me and click continue to my Atlassian.
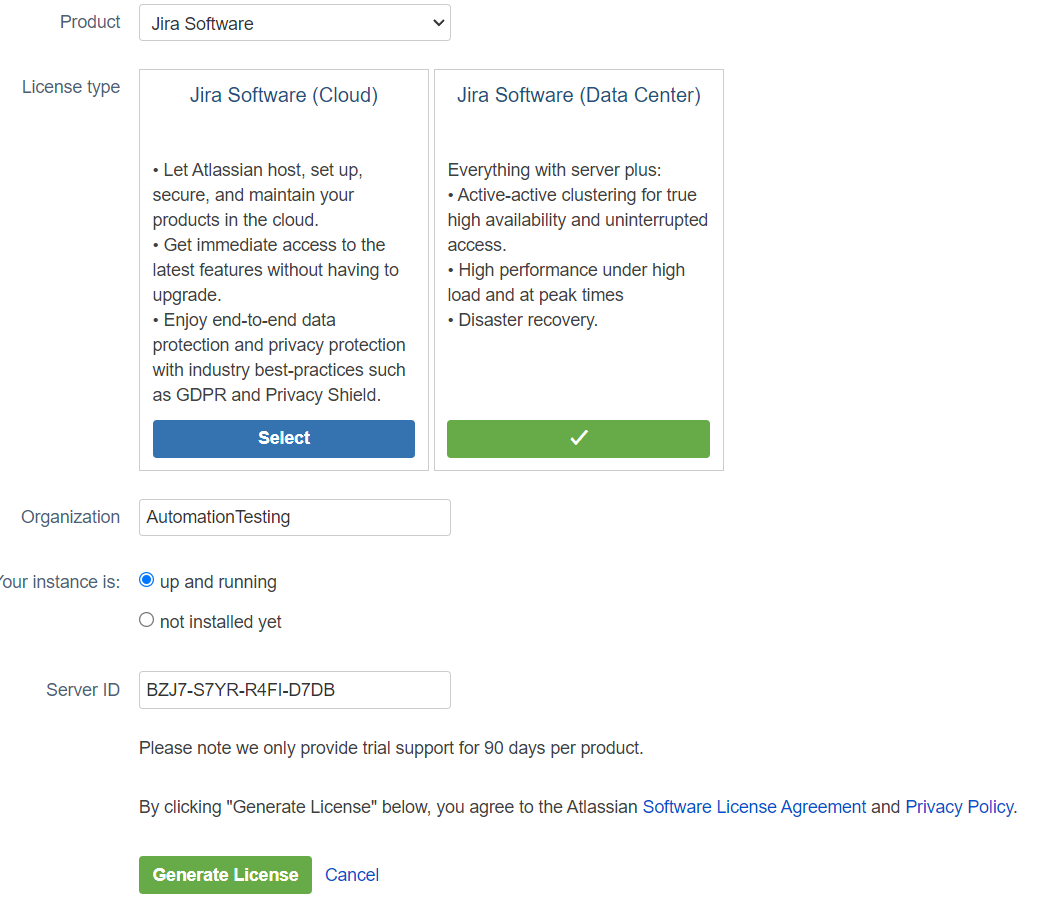
Step 4: License window will appear. You only have to provide the organization name and the rest will be the default. Click on generate a license.
Step 5: Confirm the installation of a license key.

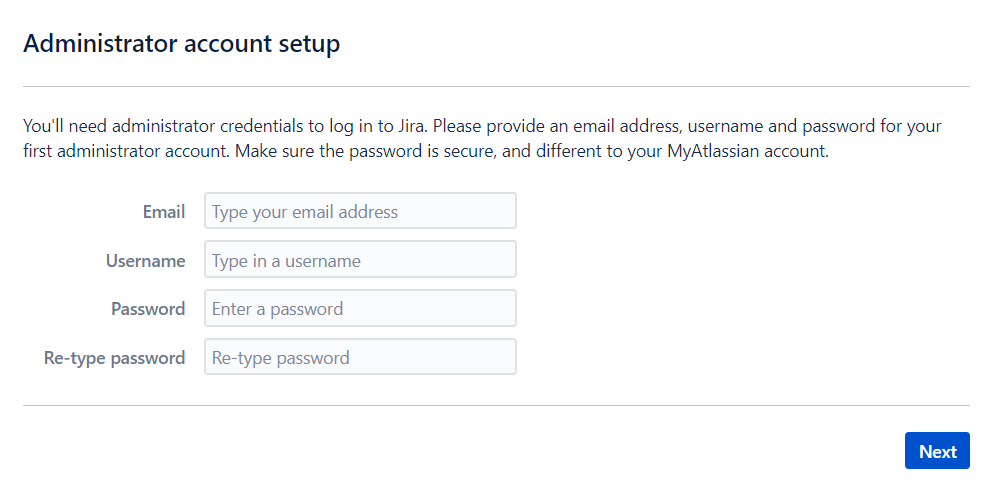
Step 6: In the below window, provide the details and click on next. Email can be your google mail from which you have logged in.
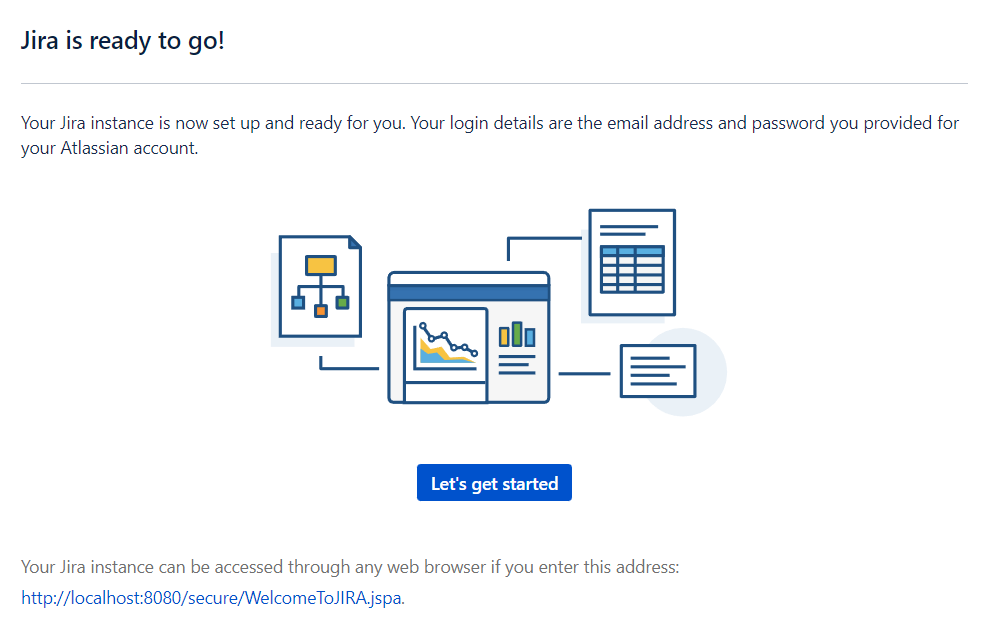
Step 7: After that setup process will begin and after setup completion, the below window will be displayed. Click on let’s get started.
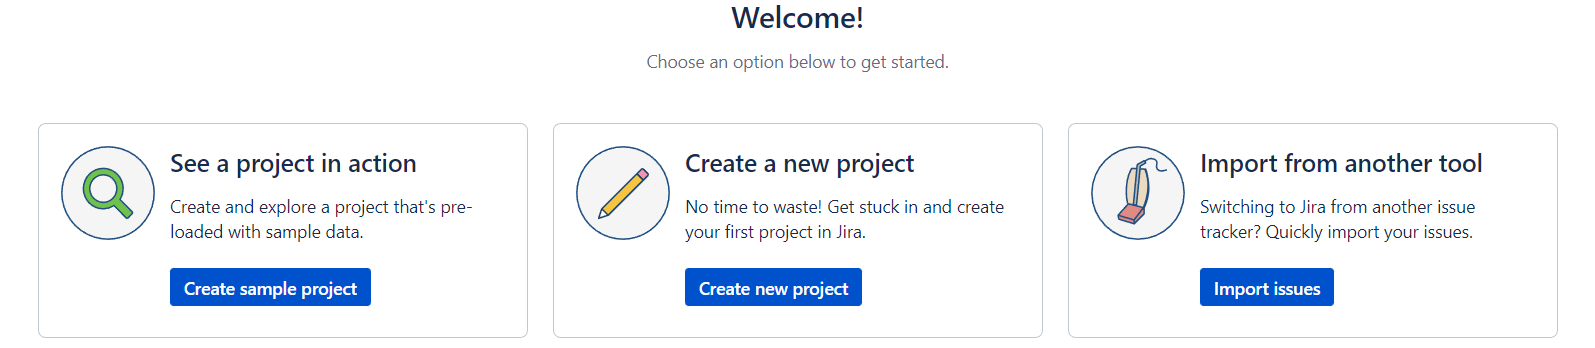
Step 8: After that select, language and avatar and click on next. Select one option from the three as shown below as per your requirement. To create an issue click on create a project.
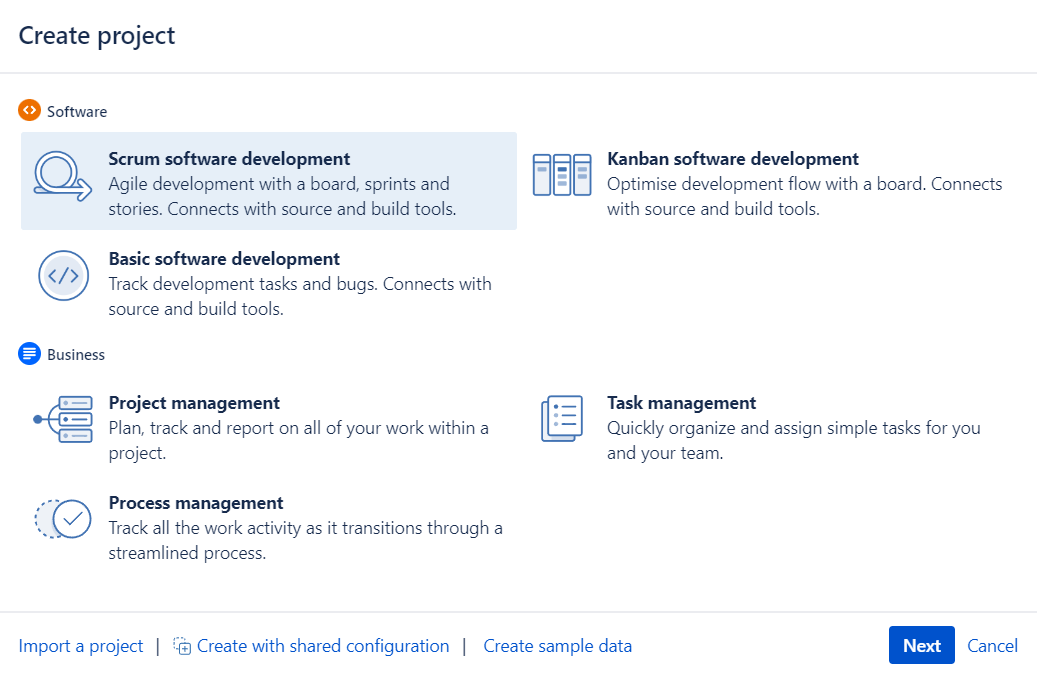
Step 9: Choose one option from the below window. Provide name and key and click submit.
Step 10: Create an issue and invite your team.

JIRA Scheme
Inside the JIRA scheme, anything can be configured and it consists of
- Workflows
- Issue Types
- Custom Fields
- Screens
- Field Configuration
- Notification
- Permissions
JIRA issue and issue types
Bug or issue that underlines the project can be tracked by JIRA issue. After importing the project, you can create issues related to your project.

Under issues, you will find other useful features for configuration
- Issue types
- Workflow
- Screens
- Fields
- Issue Attributes
Jira Issue Types
The types of items that can be created and tracked using the Jira testing tool comes under issue types. Two types of schemes are as follows:
- Default issue type scheme: All newly created issues will be added to this scheme automatically.
- Agile scrum issue type scheme: This scheme will use for the Issues and projects associated with agile scrum.
You can also add schemes manually as per your requirement.
JIRA Components
A Group of issues can be called Jira components. Components contain structure to the projects. In component structure features, teams, modules, sub-projects and more can be added. It is used to generate reports, collect statistics and display them on the dashboard.
Jira Screen
After creating an issue in Jira, it will be arranged and represented into different fields which are known as the screen. In the workflow, this screen can be edited. For every issue, a new screen type can be assigned.
Jira Issue Attributes
- Statuses
- Resolutions
- Priorities
Statuses: It is used to check or monitor the status of the project like to do, open, closed, etc.
Resolutions: It tells the progress of like duplicate, cannot reproduce, fixed, etc.
Priorities: It sets the priority of the issue like critical, major, minor, etc.
How to create an issue in Jira?
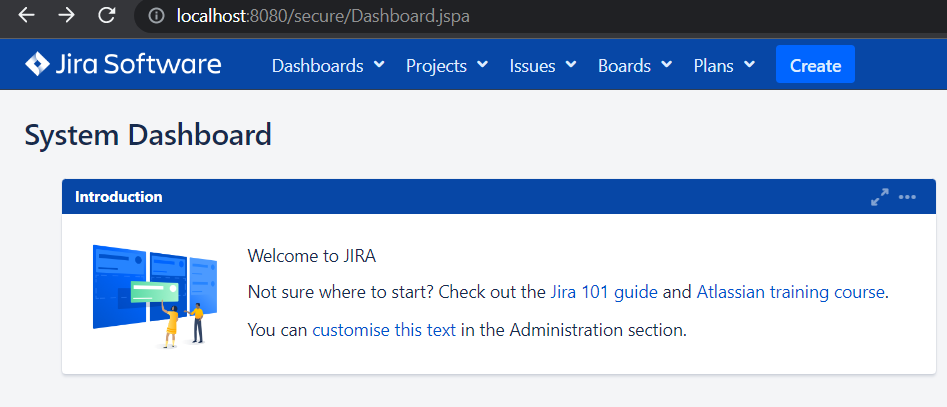
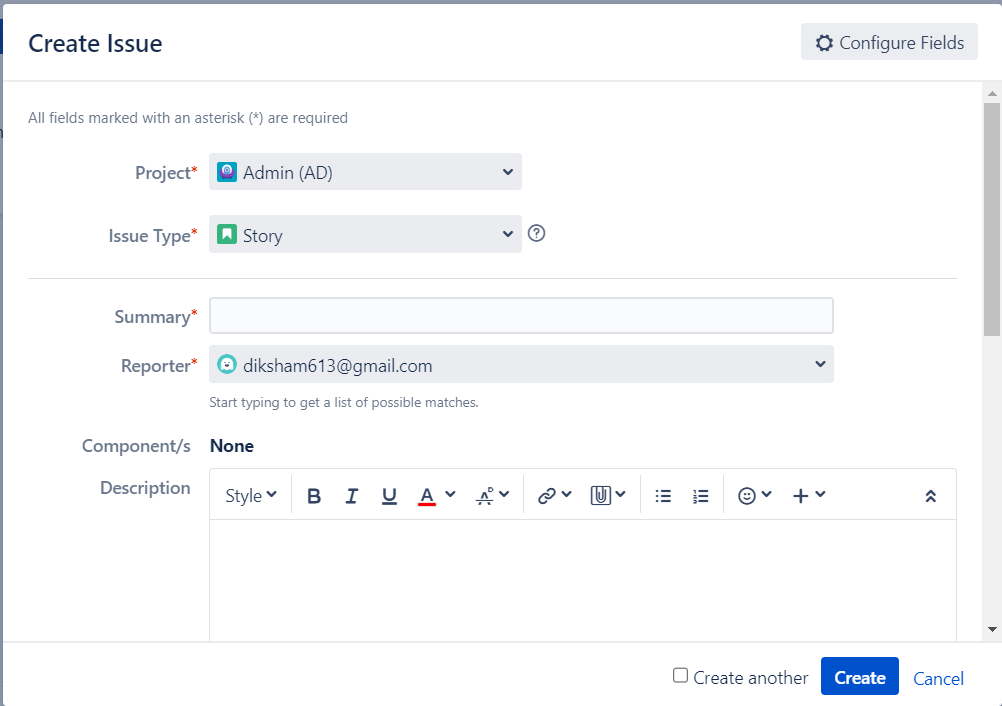
Step 1 After login into the Jira software, you can see create a button on the top. Click on create button to create an issue.
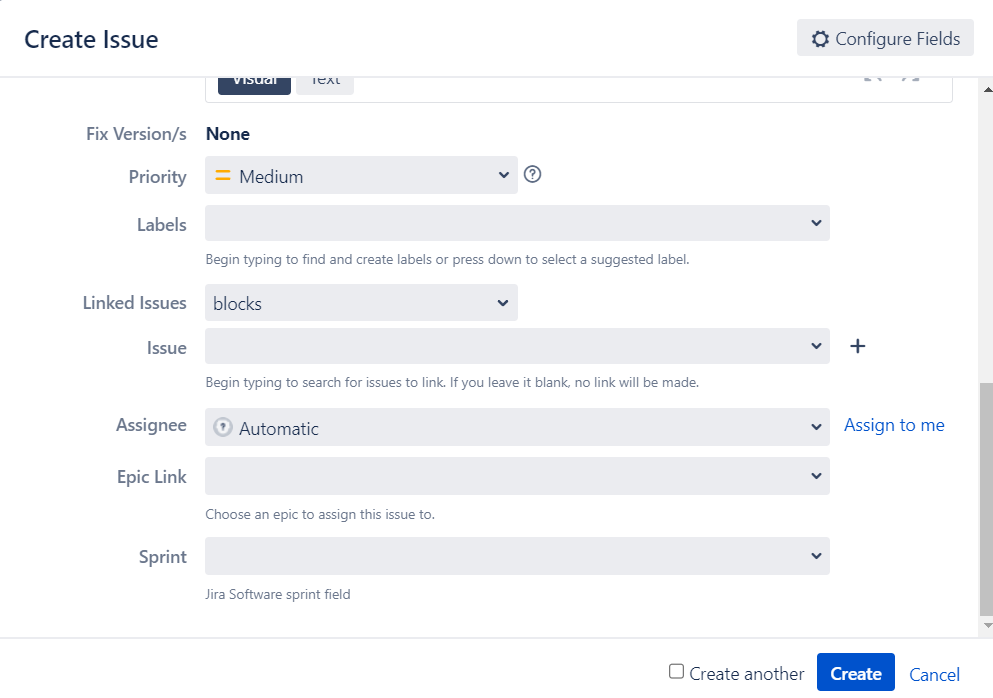
Step 2: After clicking on create button, fill in all the details in the below window. After filling in the details, click on create button displayed below.
Step 3 After filling in the details, click on create button displayed below to create an issue.
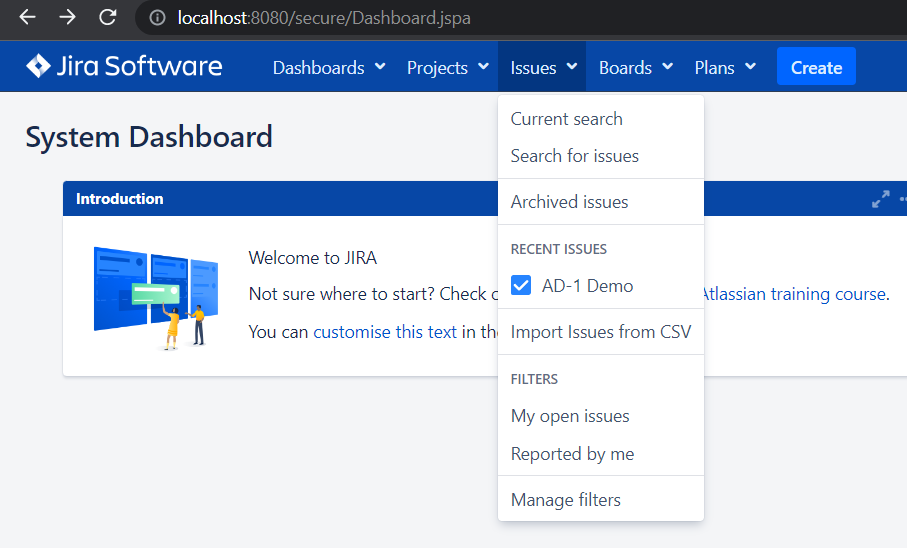
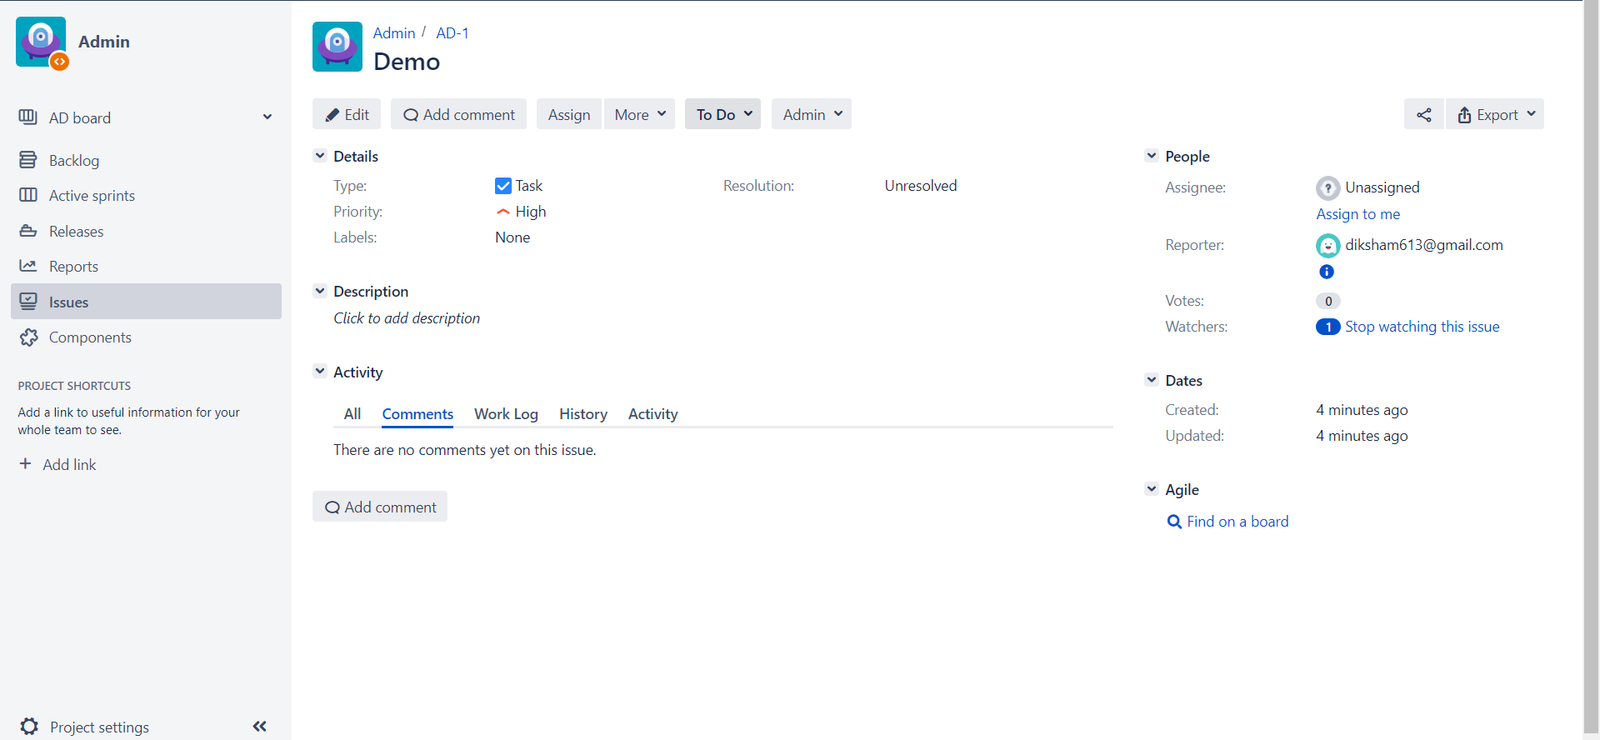
Step 4 To edit or check the status of the issue click on the issues as shown in the below window and open the created issue.
Different features of JIRA
- Scrum and Kanban boards
- Roadmaps
- Bug and issue tracking
- Agile reporting
- Custom workflows.
- Audit logs
- Over 3000 app integrations
Advantages of JIRA
- It is a bug-tracking tool that allows software developers to plan, track and work faster.
- Documentation is organized.
- Helps in completing the project on time and with quality.
- Provides faster feedback.
- Integration with third-party software is available.
Disadvantages of JIRA
- Restricted file size upload.
- Can’t use the report once it is generated.
- The user interface is difficult to understand for beginners.
Conclusion:
Jira software enables users to improve delivery as well as performance. Currently, JIRA is the best software to track the project bugs for both testers as well as developers. It is free to use for everyone. Jira is currently the best software available to track bugs/issues effectively and efficiently.
Read Also:
1) Difference between bug and defect
